
Slides Guide: Vertical Slides Presentations
Most people use landscape orientation when creating presentations on Google Slides. While this format is the norm, there are a handful of situations where a vertical orientation might be more suitable.
Yes, that’s correct! You can use a vertical orientation for your Google Slides presentation! Today, we’ll be tackling some of the different use cases of vertical slides presentations, as well as a detailed step-by-step walkthrough on converting a default Google Slide presentation into a vertical one.
Why vertical?
As we mentioned earlier, landscape is the default orientation for most slides presentations. Depending on your content, audience, and use case, a vertical format could be more suited!
So, what use cases might call for a vertical Google Slides orientation? Here are just a few of them:
1) Mobile optimization
In most scenarios, such as workshops or seminars, a landscape or horizontal format is ideal because presentations are shown or projected on screens with a similar orientation. Content, however, can also be viewed vertically on smartphones and tablets.
2) Content matters
You could also use a vertical format to highlight or build your presentation around content that uses the same orientation. These include presentations that feature a lot of vertical videos or perhaps mockups of social media content that use the same format! Think Instagram Stories, TikTok, or Facebook Reels. In some cases, a vertical Google Slides presentation works better for print-friendly content as well.


3) Consider structure
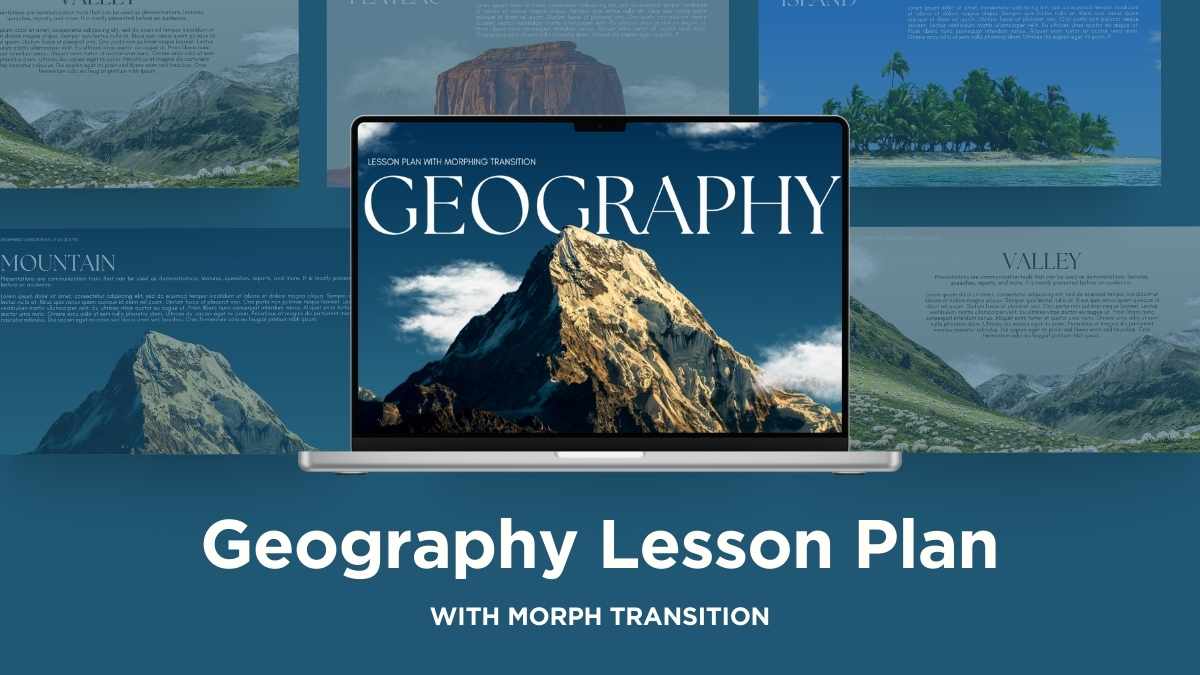
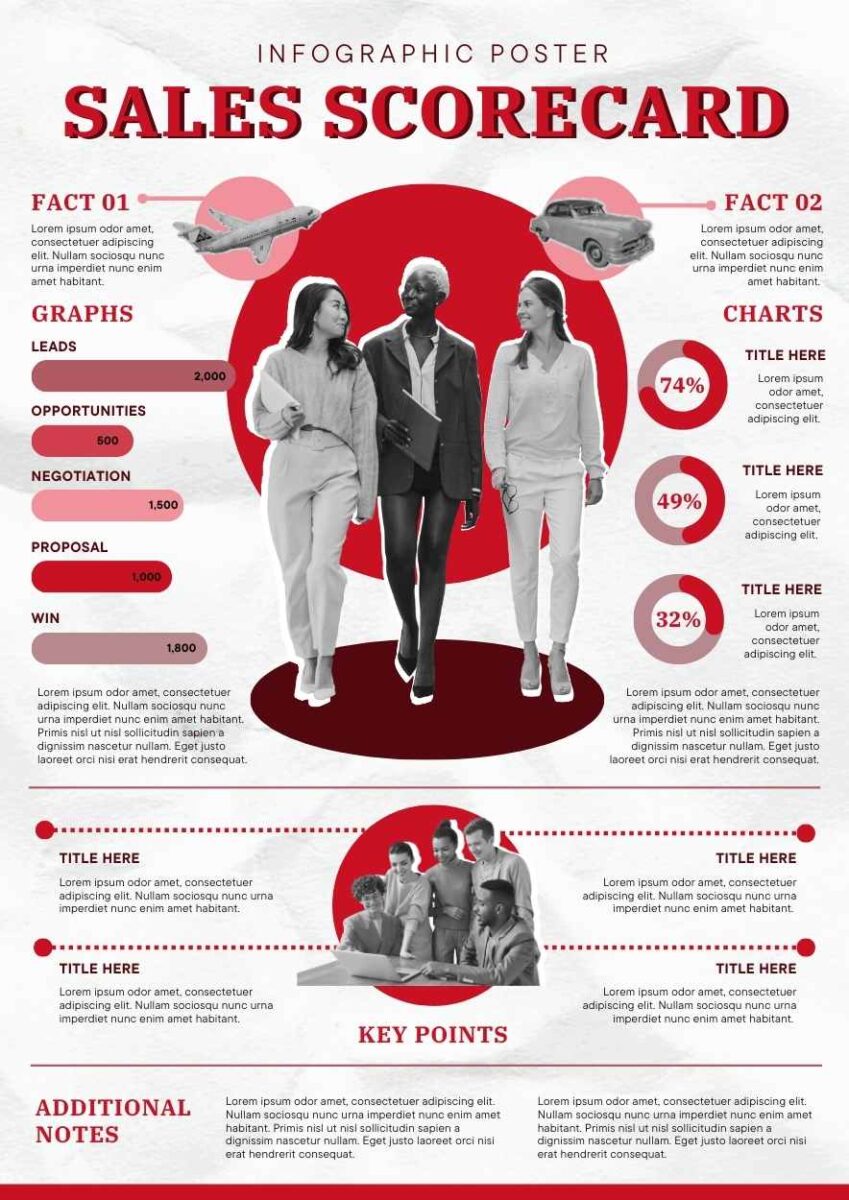
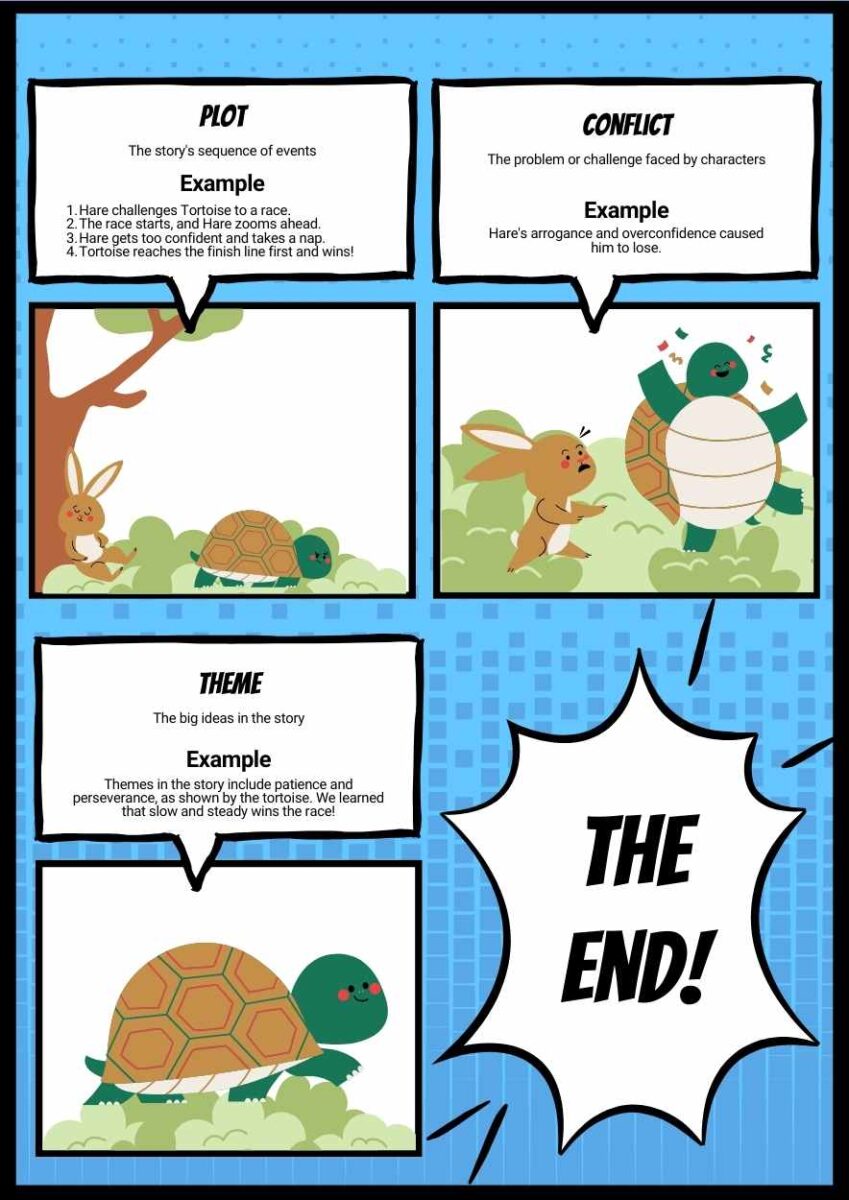
There are also instances where using a vertical format is better for presenting workflows or processes. Examples of this include vertical storyboards, infographics, and tables or diagrams. Sometimes, a top-to-bottom visual representation provides better flow to instructional content, too!
Making Google Slides vertical
Step 1: Page Setup
Click File, then select Page Setup from the dropdown.
Step 2: Canvas Size
Adjust your values so that your Google Slides presentation’s orientation will be vertical: The value in the left box will determine the width, while the value in the right box will determine the length. Tip: You can swap the default values to quickly make your presentation’s orientation vertical.
Step 3: Apply your changes
Once you’ve set your desired values, simply click Apply. Your Google Slides presentation should be good to go!
Did you know?
You can also use Canva to create plenty of vertically oriented content! These include free-to-use and easily customizable posters, flyers, and infographics.
Summary
Most Google Slides presentations default to landscape orientation, but in some cases, a vertical format works better. Vertical slides are great for mobile-friendly presentations, vertical media (like Instagram Stories and TikTok videos), and print-friendly content. They also work well for workflows, storyboards, infographics, and instructional diagrams.
To switch to a vertical layout, go to File, select Page Setup, adjust the width and height of the canvas, and apply the changes. Try using vertical slides and give your presentations a whole new look!


