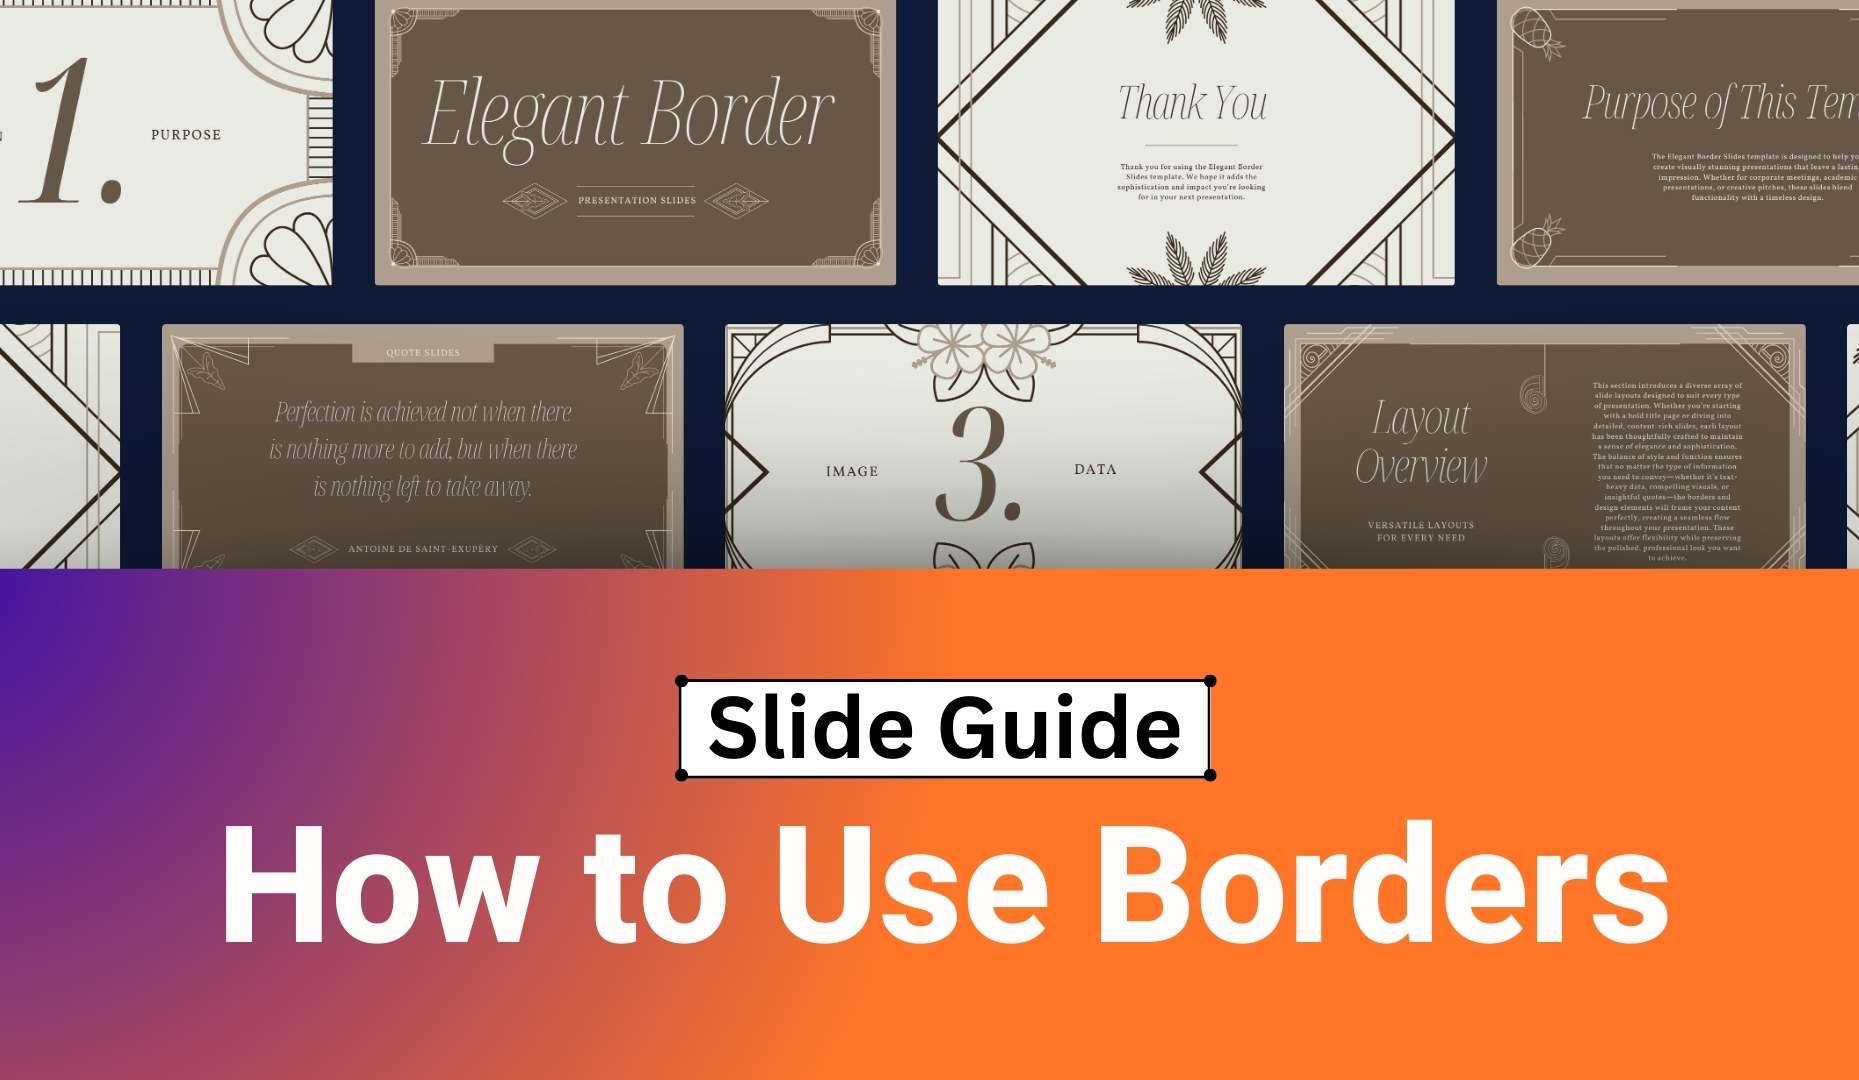
Slides Guide: How to Use Borders
Depending on the length and content of a presentation, it can become easy for audiences to get lost in the information being presented. That said, it’s important for presenters to make their slides as easy (and fun!) to digest as possible.
One simple but effective way to keep your presentations clean and organized is to use borders. Borders are visual outlines that can be added to various elements of your presentation, such as images or tables, to enhance organization. They can also be used to add a bit of visual flair to some of your slides!
Today, we’ll learn more about using borders and how to add and effectively use them in your Google Slides presentations.
What can I add borders to?
There are a handful of different elements you can apply borders to in Google Slides. The most important of which are:
- Headers and text boxes
- Images and other media
- Tables, charts, and diagrams
You can even add borders to entire sections of content! We’ll show you how to add borders and make adjustments to each type of element later in the article.
Get to know your tools
There is a variety of tools in Google Slides that you can use to customize your borders. Depending on which ones you choose to utilize, you can make your borders more prominent or minimalist or even adjust them to suit your presentation’s aesthetic better.
Your toolbar
The Google Slides toolbar is home to, well, your border adjustment tools! The main ones you’ll be working with are the following:

1) Select shape
The shape tool is represented by a square and circle icon in the toolbar. It allows you to place different kinds of shapes in your Google Slides presentation, as well as customize their size and color.
2) Text box
As the name implies, the Text box tool allows you to place text boxes in your Google Slides presentation. It is represented by a two capital Ts in the toolbar next to the Select symbol.
3) Border color
If you’re looking to add a bit of flash to your borders, you might want to consider giving them a fresh coat of paint! Changing the color of a border helps make it pop out more, which can help separate elements in your presentation. In the toolbar, the Border color icon is a pencil hovering over a thick line.
4) Border weight
Customizing the weight or thickness of a border can help emphasize separation, improving the layout of your presentation. In the toolbar, the Border weight icon is a set of lines with varying levels of thickness.
5) Border dash
Also referred to as the Border style tool, this allows you to change the appearance of a border. Some of the customization options available under the Border dash tool include dots, broken lines, and even a combination of both. To use it, select the icon featuring different line types (solid, broken, dots) in the toolbar.
Adjusting border roundness
You can give your borders a smoother and rounder overall shape using two easy steps:
Step 1: Select Shape, then choose the rounded rectangle shape.
Step 2: Drag the yellow diamond icon to the left or right to adjust how rounded the border’s corners are.
How do I add borders?
Adding borders and making adjustments to them in Google Slides is a very simple process. In this section, we’ll discuss how to add borders depending on what type of element you’re working with.
1) Headers and text boxes
Step 1: Open the Insert drop-down. Then, select Shape and choose what kind of shape you would like to use for your border.
Step 2: Draw the shape on your slide.
Step 3: Set the fill color to transparent. To do this, select the paint bucket icon in the toolbar and choose Transparent.
2) Images and other media
Step 1: Select the image you want to add a border to.
Step 2: Select the border color icon, which looks like a pencil, in the toolbar and choose a color.
Step 3: Adjust the border weight to control its thickness.
Step 4: You can also select the border dash icon to switch to a dashed or dotted border style.
3) Tables, charts, and diagrams
Step 1: Select the chart, table, or diagram.
Step 2: Select the border color icon in the toolbar and choose a color.
Step 3: Use the border weight icon to adjust its thickness.
Step 4: Click the border dash icon in the toolbar if you wish to switch to a dashed or dotted border style.
Did you know?
You can also add borders to text, images, and other elements in your Canva presentations. Here’s how:
- Create or open an existing design.
- Inside the editor, click or tap on the Elements tab.
- On the search bar, type “borders.” Select borders from the suggested results.
- To add a border to your design, click or tap on it from the options. Pro or paid ones are tagged with a $ or a Pro icon.
To resize borders in Canva, select it, then drag any of the white circle handles on the edges in or out.
To change a border’s color, click or tap to select it, then select the color tile from the editor toolbar.
Summary
Now, you’re all set to add and customize borders to your Google Slides presentations. Let’s have a quick recap of everything you’ve learned so far:
- You can add borders to text boxes, images and media, as well as tables, charts, and diagrams.
- Select shape – Allows you to place and adjust shapes to be used as borders.
- Text box – Allows you to place text boxes.
- Border color – Lets you choose and adjust the color of your borders.
- Border weight – Lets you adjust the thickness of your borders.
- Border dash – Allows you to choose from a handful of styles to apply to your borders.


