How to change the shape of an image in Google Slides
Images do more than just fill space on a presentation slide. A well-chosen image grabs attention, reinforces your message, and breaks up long text blocks.
In Google Slides, adding images is just the beginning. You can also customize their shape into circles, stars, arrows, and more to better align with your design and presentation goals.
Why change the shape of an image?
Standard rectangular images provide consistency but can sometimes feel rigid. Changing an image’s shape can enhance your slides in multiple ways:
- Align visuals with your slide’s theme and layout
- Direct attention to important details
- Remove unnecessary elements for better focus
- Break up the monotony of rectangular and square images
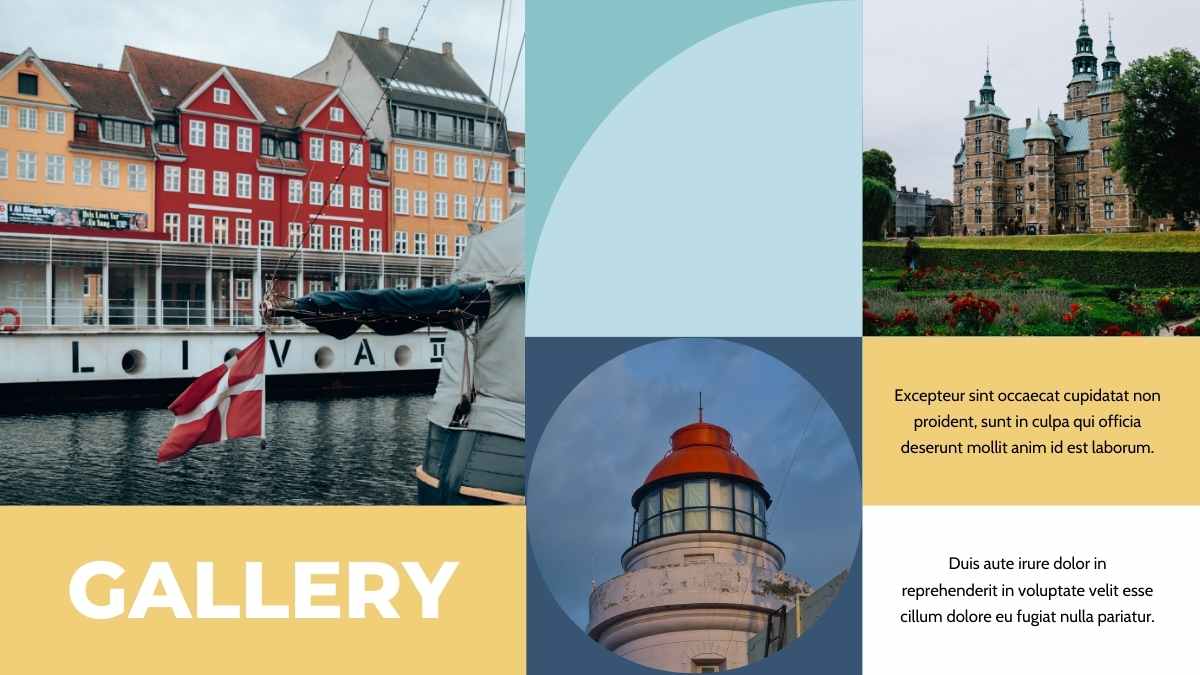
Check out these template examples to see how different image shapes can elevate slide presentations.


Step-by-step guide to changing the shape of an image
Ready to elevate images in your presentations? It only takes a few quick steps. Here’s how to customize image shapes in your slides.
Step 1: Insert an image
Open your Google Slides presentation. Then, click on Insert > Image and choose an image from your computer, Google Drive, or the web.
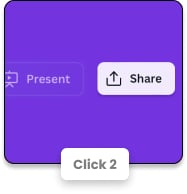
Step 2: Select the image
Click on the image to select it. Blue resize handles will appear around it.
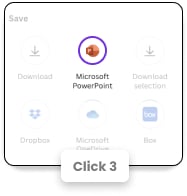
Step 3: Select a shape mask
With the image selected, go to the toolbar at the top and click the Crop icon (a small square with overlapping lines). Click the dropdown arrow next to it and choose Mask image. A menu of different shape options will appear.
Step 4: Apply the shape mask
Select the shape you want, and your image instantly takes that shape.
Step 5: Adjust and finalize
Drag the edges to resize or reposition the image within the shape. If necessary, double-click the image to adjust its placement inside the shape. Keep in mind:
- Black rectangle handles resize the entire shape and image
- Blue rectangle handles adjust the image’s position within the shape.
When you’re happy with the placement, click anywhere outside the image.
And that’s it! You now have an image in a custom shape. Play around with different shapes to find the perfect fit for your design.
Did you know?
You can also change the shape of an image in Canva presentations. Follow these five easy steps:
- Open Canva and select your design. Start a new presentation or open an existing one.
- Add an image to your selected page. Upload your own or choose one from Canva’s stock photos.
- Insert a shape frame. Go to Elements > Frames, then select your desired shape.
- Drag and drop your image into the frame. It will automatically adjust to fit.
- Resize your image using the purple resize handles. To reposition it within the shape, double-click the image.
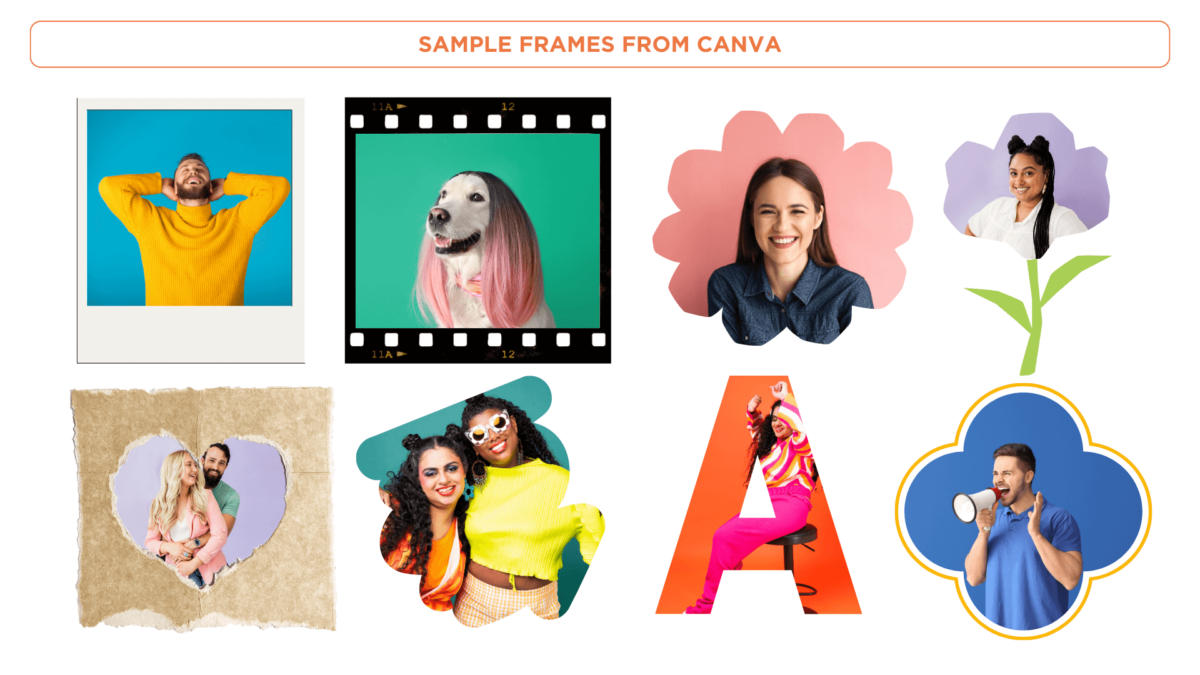
Canva offers a wide selection of creative frames, including nature-themed designs, film strips, abstract and geometric designs, and more.
Start changing image shapes in seconds and explore frames for your presentation slides with this free Geometric Creative Portfolio Presentation template.
Additional tips for editing images
Here are other ways to edit images on Google Slides:
Add borders
A border is an outline that helps visually separate shapes, images, and text boxes from other elements on the slide. You can customize its color, thickness, and style.
To add a border, select the image. Then, choose Border color from the toolbar and pick a color. Adjust Border weight and Border dash to match your design.
Use drop shadows
A drop shadow adds a soft, dark shadow behind text, images, or shapes. It makes the object stand out and appear slightly raised from the background.
To apply this effect, enable Drop shadow under Format options. Adjust settings like blur, angle, distance, and opacity to get the shadow you want.
Adjust opacity
Opacity (or transparency) refers to how see-through an image or text is. This is useful for creating watermark effects, subtle backgrounds, or layering elements without making them too bold.
To adjust opacity, select the image first. Under Format, select Format options > Adjustments > Opacity. Move the slider until you reach your desired opacity level.
Combine images
Layer multiple-shaped images to build a unique design.


This Cute Farm Harvest Game Presentation features images with border designs.
Our Dark Modern Tech Startup Brand Slides showcases how drop shadows can elevate your presentation.
This Elegant Hospitality & Tourism Slides showcases how playing around with opacity can enhance your slides.
Key takeaways
- Changing the shape of images improves the visual appeal of the slides while maintaining clarity and engagement.
- There are easy-to-use tools for modifying image shapes.
- Additional editing features such as drop shadows, opacity adjustments, and layering enhance the visual impact of your design.
Next time you’re working on your slides, experiment with different shapes to know what works best for your designs and observe how small adjustments can positively impact your presentation.